Excavator overheating happens when the engine generates more heat than the cooling system can remove. In heavy-duty Industrial Cooling Systems, the most common causes are clogged radiator fins restricting airflow, degraded or low coolant, a failing thermostat or water pump, and internal scale buildup inside coolant passages. In most field cases, more than one factor is involved simultaneously.
Most overheating problems don’t announce themselves loudly. The temperature gauge creeps up a little during a long afternoon shift. The engine sounds slightly more strained than it did last week. The cooling fan seems to run a bit harder than usual. Easy enough to push through, assuming it’ll settle on its own.
Sometimes it does. More often, it doesn’t.
The trouble with excavator overheating is that the underlying cause is almost never obvious from the outside. It builds across days or weeks a combination of restricted airflow, deteriorating coolant, and gradual pressure leaks until the system simply can’t keep pace with engine heat. By that point, you’re looking at unplanned downtime, possible engine damage, and repair costs that dwarf what early intervention would have cost.
This guide walks through the actual causes, how to tell them apart, and what a proper diagnosis process looks like so you can address the right problem instead of guessing.
At a mechanical level, overheating is a heat-balance failure. The engine produces heat constantly during operation. The cooling system’s job is to remove it faster than it accumulates. When that balance breaks, temperatures rise.
That imbalance happens in two ways:
In practice, both are usually present at the same time. A partially blocked radiator can manage fine under normal load. Add a hot summer afternoon and a heavy dig cycle, and the same system that “seemed fine” yesterday starts showing temperature spikes today.
That’s the pattern worth understanding. The machine doesn’t fail all at once. It operates in a compromised state sometimes for days before temperatures breach a threshold that’s impossible to ignore.
| Key Insight A cooling system that “works” is not necessarily working well. Gradual efficiency loss is invisible in daily operation until a single variable ambient heat, load, or runtime pushes it over the edge. |
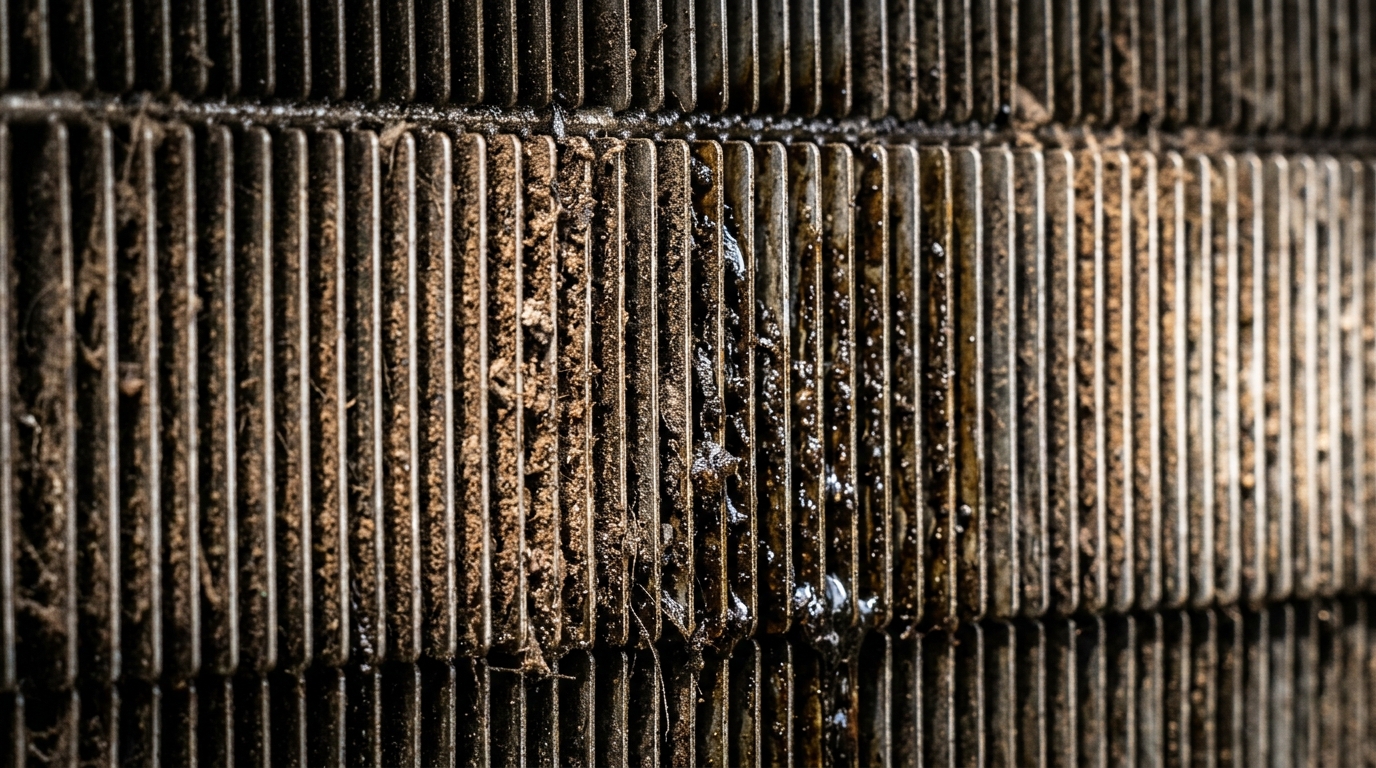
Walk across any active construction site and you’re breathing suspended fine particles. That same dust gets pulled through the excavator’s cooling system every hour it operates. Over time, it packs into the narrow gaps between radiator fins, and airflow drops.
This is the single most common cause of gradual excavator overheating in heavy equipment environments, and it’s routinely underestimated because the buildup is slow and the early symptoms are subtle.
Even a relatively thin layer of compacted debris reduces airflow more than most operators expect. And when that debris mixes with hydraulic oil or grease which is common on construction sites it hardens into a residue that surface rinsing won’t remove.
A garden hose or quick pressure wash can dislodge loose surface dirt. It does very little against hardened, oil-bonded buildup inside the fin core. That kind of contamination requires industrial cleaning methods to reach the depth where the real restriction sits.
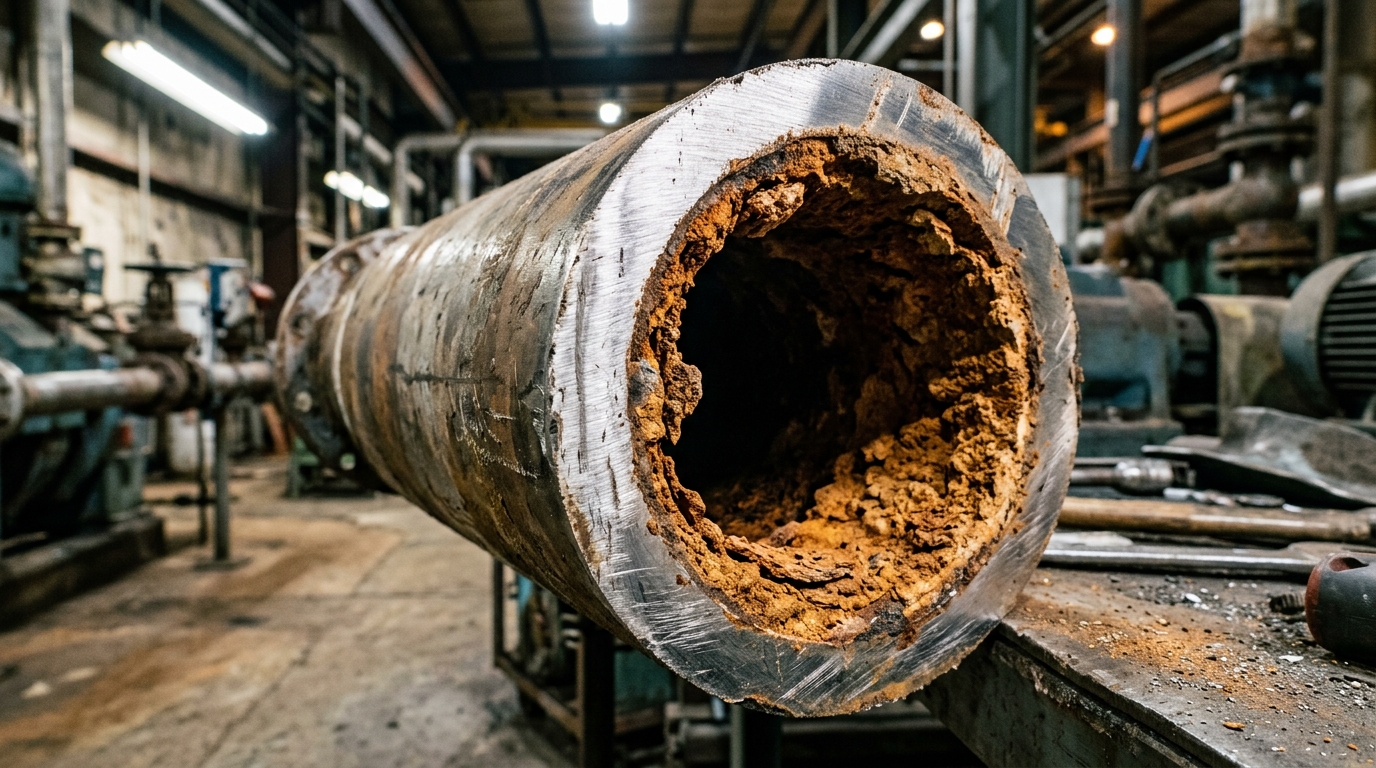
Not every overheating problem is visible from the outside. Inside the cooling system, mineral deposits and oxidation gradually narrow the passages that coolant flows through. Heat transfer efficiency drops, and the system loses ground slowly, quietly, over months.
This is why internal scale gets missed so often. There’s no warning light for it. The machine keeps running. The temperature just trends a little higher than it used to.
The underlying chemistry is straightforward: minerals from untreated water, oxidation byproducts, and degraded coolant additives all deposit on internal surfaces over time. Those deposits insulate the metal from the coolant flowing past it, reducing how efficiently heat transfers out of the engine.
Even partial internal blockage can push a system into overheating territory under heavy load without any obvious external sign of failure. This is why coolant condition and flush intervals matter as much as keeping the fins clean.
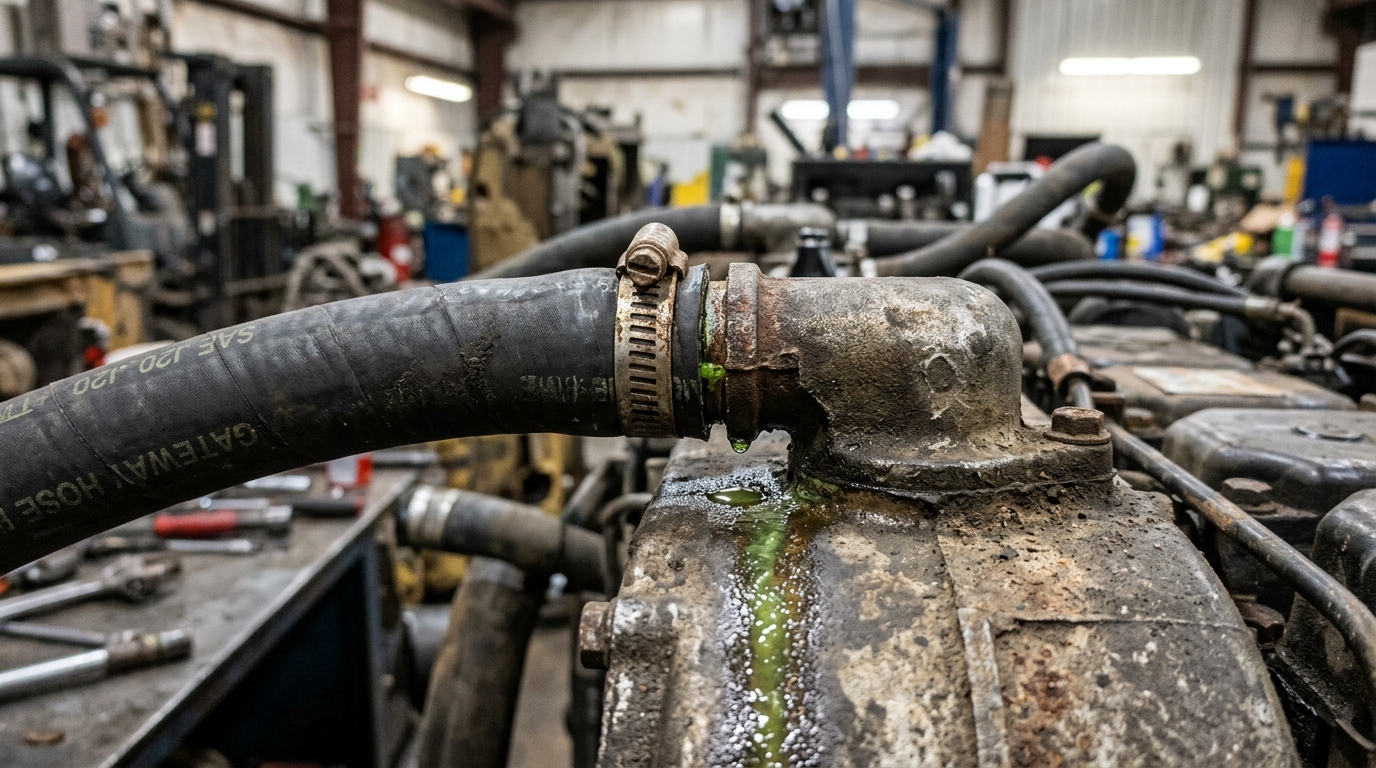
A small drip at a hose joint doesn’t look urgent. On a busy site, it’s easy to note and move on. That’s usually a mistake.
Small leaks in pressurized cooling systems behave differently than leaks at ambient pressure. As the system heats up during operation, internal pressure rises. That rising pressure stresses the same weakened joint or micro-crack that’s already leaking. Vibration from normal machine operation widens existing cracks further. What starts as a slow drip can become a meaningful coolant loss within a single shift.
There’s also the problem of leaks you can’t see at all. Micro-leaks at core seams, aged hose connections, or weakened joints only become visible under operating pressure not during a stationary visual check. The coolant level drops, you top it up, it drops again, and the root cause never gets identified.
| Important If you’re regularly topping up coolant without a visible puddle, assume a micro-leak exists. Pressure testing will find it. Visual inspection will not. |
One of the most common diagnostic errors is treating every overheating case the same. Topping up coolant when the real issue is restricted airflow. Cleaning the radiator fins when the thermostat is stuck. Each misdiagnosis costs time and leaves the actual problem in place.
A clean mental model helps here:
Coolant carries heat away from the engine. Air removes that heat from the radiator. Both sides have to work.
Separating the two failure paths makes diagnosis faster and more accurate.
If the temperature rises at idle as well as under load, the problem is likely airflow. If it’s mostly under load and idles normally, the coolant flow side is the stronger candidate. Neither rule is absolute, but it gives you a starting direction.
Work through this in order. Skipping steps is how misdiagnosis happens.
Match your symptoms to likely causes using this reference table:
| Symptom | Most Likely Cause | Check First | Common Mistake |
| Temperature climbs slowly during long shifts | Airflow restriction from fin blockage | Radiator fins and cooling fan | Topping up coolant without checking airflow |
| Sudden spikes under heavy load | Coolant flow failure | Thermostat and water pump | Ignoring internal blockage |
| Coolant loss but no visible puddle | Micro leaks or evaporation | Hose connections, pressure test | Waiting for a visible puddle to appear |
| Overheating returns after cleaning | Incomplete debris removal, internal buildup | Internal passages and tubes | Trusting surface-level cleaning as sufficient |
| Temperature readings fluctuate unpredictably | Air pockets or inconsistent coolant flow | Coolant system bleeding | Replacing components before diagnosing flow |
Flushing is standard maintenance and it has value. But there’s a common assumption that a flush resolves all cooling system contamination. In construction environments, that’s usually not the case.
On active job sites, dust mixes with oil and grease to form a residue that hardens inside coolant tubes and fin cores. A flush circulates fresh fluid through the system, but it doesn’t have the mechanical action to dislodge hardened deposits from tube walls or deep fin blockages. You flush it, the system looks fine, and a month later you’re dealing with the same temperature issues because the restriction was never fully removed.
Industrial radiator cleaning uses specialized methods and equipment designed specifically for contamination at this level. It’s a different process from a standard maintenance flush, and the distinction matters when the operating environment is harsh, especially when deciding between radiator repair vs replacement.
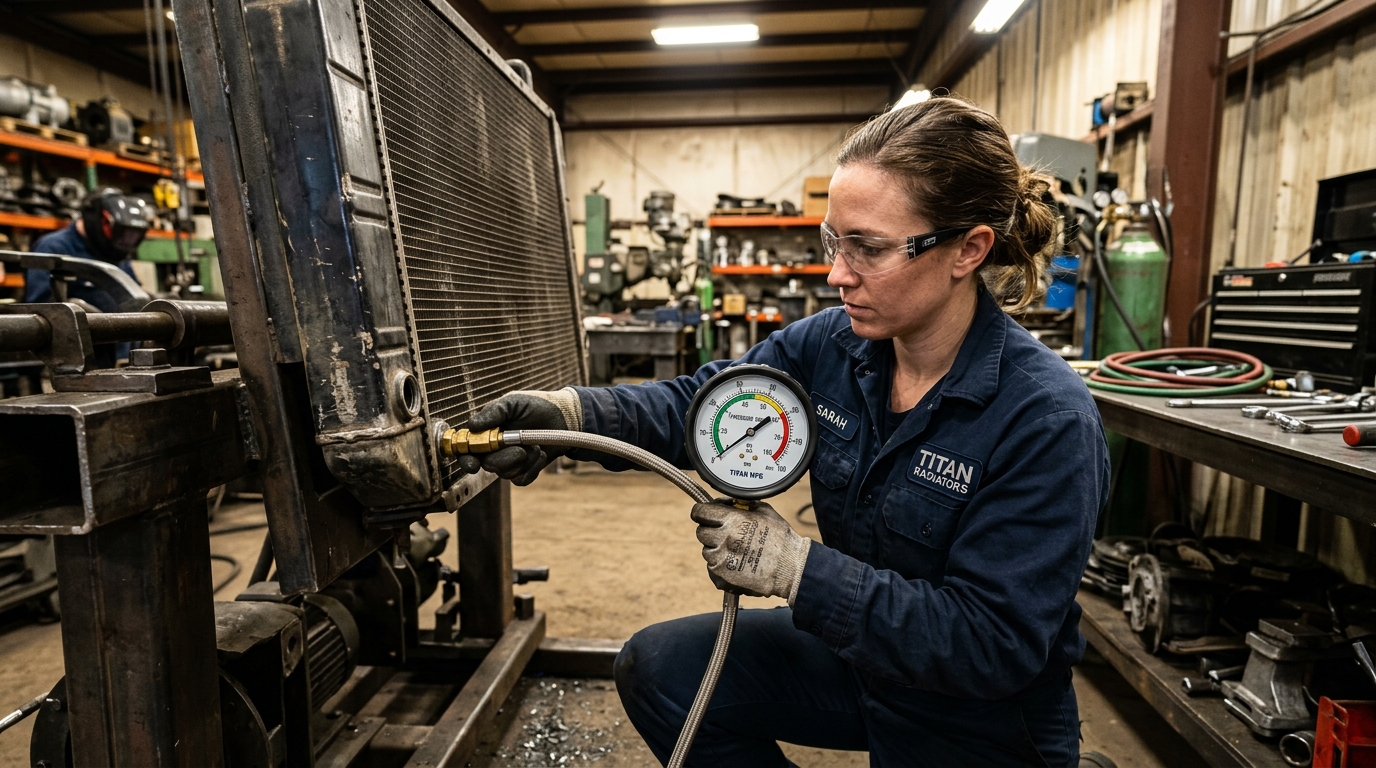
A lot of cooling system problems are only detectable under pressure. That’s why overheating often persists after a visual inspection shows “nothing wrong.”
Pressure testing works by bringing the system up to its normal operating pressure range while the machine is not running. Any loss of pressure over the test period indicates a leak. The location and rate of that loss points to where the problem sits whether that’s a core seam, a hose connection, a gasket, or a structural weakness developing in an aging component.
For fleet operators and high-utilization equipment, pressure testing isn’t just a repair tool. Run periodically as part of maintenance, it identifies developing problems before they become emergency failures.
The instinct to replace a failing component is understandable. It feels like a clean solution. But full replacement isn’t always the right call, particularly in heavy equipment where parts lead times can extend downtime beyond what the repair would have taken.
Repair is genuinely the better option when the core structure of the radiator is sound, blockages can be cleared effectively, and leaks are localized rather than spread across multiple failure points. In those cases, a professional repair restores full performance without the cost or lead time of a new component.
Replacement makes more sense when the core is structurally compromised, when multiple failure points exist simultaneously, or when the age and condition of the component suggest that further failures are likely soon regardless.
King Radiator HD Inc specializes in exactly this kind of evaluation for heavy equipment pressure testing, industrial cleaning, and targeted repair for fleets and industrial operations that need equipment back in service quickly without defaulting to full replacement when repair is the better outcome.
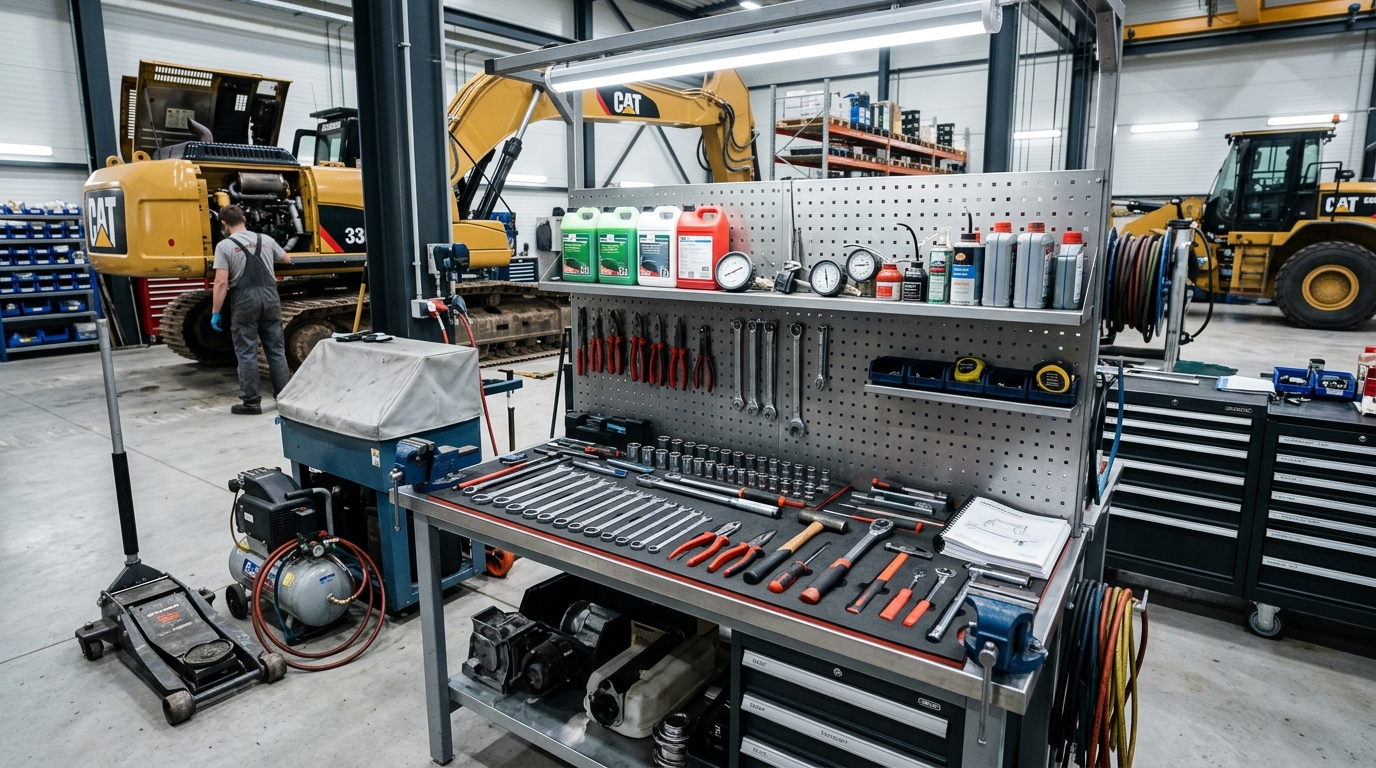
Reactive repair is always more expensive than maintenance that prevents the problem. These practices reduce the risk significantly in heavy-duty environments.
Excavator overheating is rarely a single sudden failure. It’s the result of a system that’s been running in a compromised state for longer than anyone noticed fins gradually packing with debris, coolant slowly degrading, a micro-leak dropping fluid a little at a time until the margin disappears. The good news is that this process is readable, if you know what to watch for. Temperature behavior under different load conditions, coolant color, fan performance, minor seepage around
The most common causes are clogged radiator fins blocking airflow, low or degraded coolant, a failing water pump or thermostat, and internal scale buildup inside coolant passages. In most cases, two or more of these factors are present at the same time.
Watch for the engine temperature rising gradually during long shifts while the cooling fan runs at full speed without bringing the gauge down. Visible debris between radiator fins, or oil-contaminated buildup around the core, are physical signs of blockage.
Under load, the engine produces significantly more heat. If your cooling system is already partially compromised by fin blockage, weak coolant flow, or a worn pump it keeps up at idle but cannot handle the higher heat load during heavy operation. This is an early-warning pattern, not a minor issue.
For most heavy equipment operating in dusty or high-temperature environments, a coolant flush every 1,000 to 2,000 operating hours is a reasonable baseline. However, if the coolant appears rust-colored, cloudy, or has a low pH, flush it sooner regardless of hours.
A 50/50 mix of ethylene glycol antifreeze and distilled water is standard for most heavy equipment. Avoid using untreated tap water mineral content accelerates internal scale buildup, which reduces heat transfer efficiency over time.
Yes. Even a minor leak causes gradual coolant loss. As coolant drops, the system loses heat-transfer capacity. Under operating pressure and heat, small leaks also tend to grow what starts as a drip can become a serious failure within a single shift.
If overheating persists after checking and correcting coolant levels and airflow, or if you suspect internal blockage, a pressure leak, or scale buildup, professional diagnostics are the right move. Pressure testing reveals micro-leaks and structural weaknesses not visible during routine checks.
Pressure testing involves pressurizing the cooling system to its normal operating range and monitoring for pressure loss. It reliably detects micro-leaks at joints, hose connections, and the radiator core that only appear under load conditions making it far more accurate than a visual inspection alone.